Using the QAction Scan Application
Not all users have access to this software. This software works with QAction to complete the scanning process.
- On your desktop, locate and double-click the QAction Scan icon.

- The QAction Scan Login window appears.
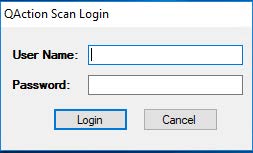
- Enter your User Name and Password, and click Login.
- The QAction Scan Documents screen appears.
- The QAction Scan Documents screen appears.
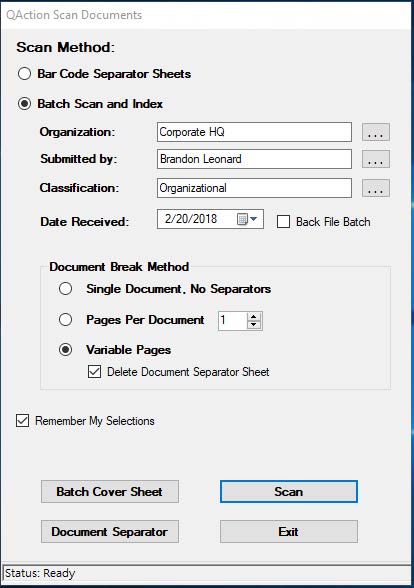
- Review the various options on the screen:
- Bar Code Separation Sheets – If the documents are using a barcode cover sheet for auto-indexing, select this option for scanning.
- Batch Scan and Index – If the documents are using a batch cover sheet for document separation, select this option for scanning.
- Organization – Enter your default location.
- Submitted by – Ensure it defaults to your name as the person scanning.
- Classification – Enter the department (classification) the documents are being scan to. For example, Risk Finance or Claims.
- Date Received – If known, enter the date the documents were received. This field defaults to the current date.
- Back File Batch – If selected, the batch scans as a “Back File” batch and QAction workflow tasks are not created. If it is not selected and the selected classification is connected to a workflow, any workflow initiating documents creates a workflow task.
- Document Break Method – This section determines how document separation occurs for the batch being scanned. The following are the available options:
- Single Document, No Separators – If scanning a single document for a classification, select this option.
- Pages Per Document – If scanning documents with a fixed number of pages, select this option.
- Variable Pages – If using batch cover sheets to scan, select this option.
- Remember My Settings – If selected, the scan application remembers the currently selected scan settings. The next time you log in to the scan application, the remembered settings automatically populate.
- Batch Cover Sheet button – This option is normally used if scanning a single document at a time. Index information for the selected classification is created and a barcode cover sheet is printed to automatically index the document when it is scanned.
- Document Separator button – Click to print a Patch 2 cover sheet.
- Scan button – Click to scan documents with the selected classification.
- Exit button – Click to exit the scan application.
- Batch Scan and Index – If the documents are using a batch cover sheet for document separation, select this option for scanning.
- Bar Code Separation Sheets – If the documents are using a barcode cover sheet for auto-indexing, select this option for scanning.
- Select the correct options, and click Scan.
- The QAction Quality Assurance screen appears.
- The QAction Quality Assurance screen appears.
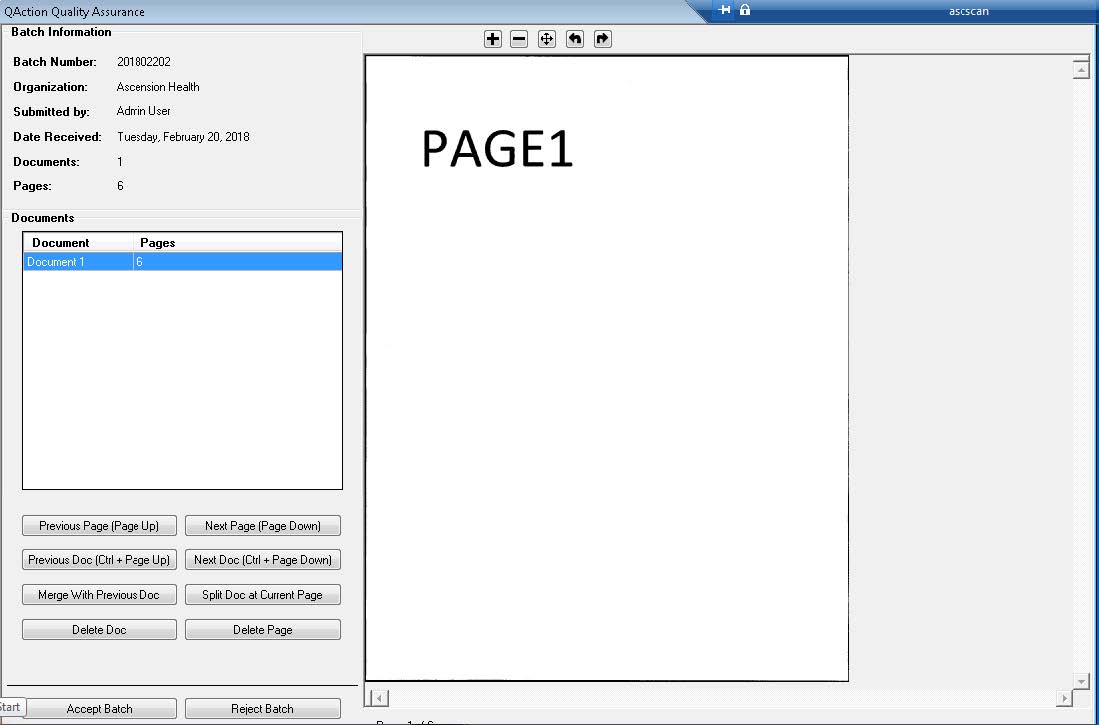
- Review the various information about the document batch on the screen:
- Batch Number – The number that was created to identify the batch you scanned.
- Organization – The organization that was chosen on the QAction Scan Documents screen.
- Submitted by – The person that was chosen at the QAction Scan Documents screen.
- Date Received – The date that was chosen at the QAction Scan Documents screen. This value defaults to the current date.
- Documents – The number of documents that were scanned.
- Pages – The total number of pages for the batch.
- Review the various options you can select:
- Previous Page (Page UP)/Next Page (Page Down) – Click to move between pages in the viewer for the current document. Keyboard shortcuts are available.
- Previous Doc (Ctrl + Page Up)/Next Doc (Ctrl + Page Down) – Click to move between the documents in the viewer. Keyboard shortcuts are available.
- Merge With Previous Doc – Click this button to merge multiple documents together.
- Split Doc at Current Page – Click this button to split one document into two documents.
- Delete Doc – Click to delete a document from the batch.
- Delete Page – Click to delete a page from a document.
- Accept Batch – Click to approve the batch and moves it onto batch processing. After this is selected, the QAction Scan Documents screen closes.
- Reject Batch – Click to reject an entire batch. A confirmation screen appears confirming that you want to reject the batch and delete it.
-
In the viewer pane, click the Zoom In (
 ) or Zoom Out (
 ) buttons to zoom in or out on the current page.
 -
In the viewer pane, click the Adjust (
 ) button to return the viewer to the default viewer.
 -
In the viewer pane, click the Rotate (
 ) buttons to rotate the page currently in the viewer.
 - After splitting, merging, or deleting pages in the batch, click Accept Batch.
- The scanning operation is completed in the QAction Scan application, return to the QAction web browser to complete the indexing.