List of Values Maintenance
The following sections describe the various activities that a application administrator role can perform.
Outline
Overview
A list of values is an index field that has a limited number of values that an administrator set up. Unlike other index fields, when adding a document with a list of values index field, you must select an option from the list offered and you cannot manually type the value.
Open the List of Values Maintenance Screen by clicking Administration > List of Values
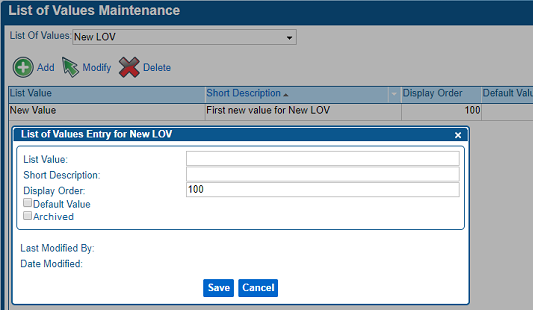
List of Values Maintenance Screen
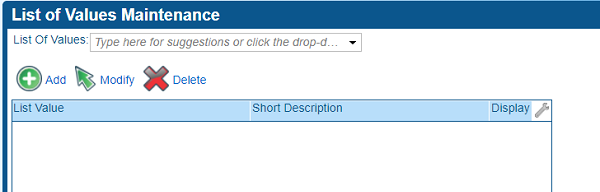
Use this screen to do the following:
- Create a new list of values.
- Modify an existing list of values.
- Create a new value for a list of values.
- Delete an existing value for a list of values.
- Copy Ids for use in scripts such as for data-driven BPMN workflow decision gateways.
Creating a New List of Values
Follow the steps below to create a new List of Values.
-
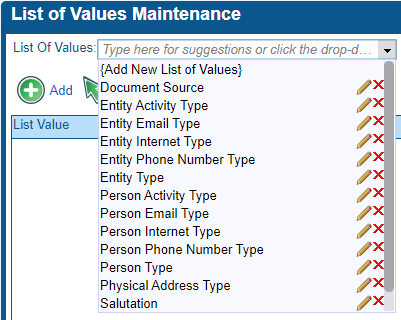
Click Administration > List of Values.
-
Click the List of Values drop-down list.
-
Click {Add new List of Values}.
-
In the List of Values Name field, type a name, and click Save.
-
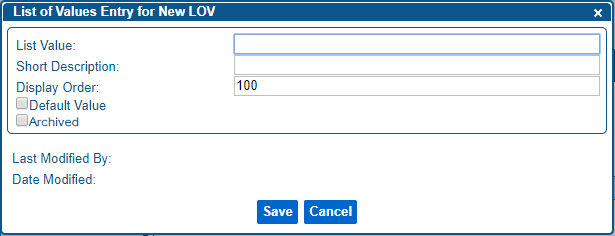
Enter information in the fields, and click Save.
The value is added to the grid for the list of values, and the List of Values Entry window remains open.
-
Continue adding new values into the List of Values Entry window as desired.
-
Once all desired values have been added to the new List of Values, click Cancel to close the List of Values Entry window.
Maintaining Entries in a List of Values
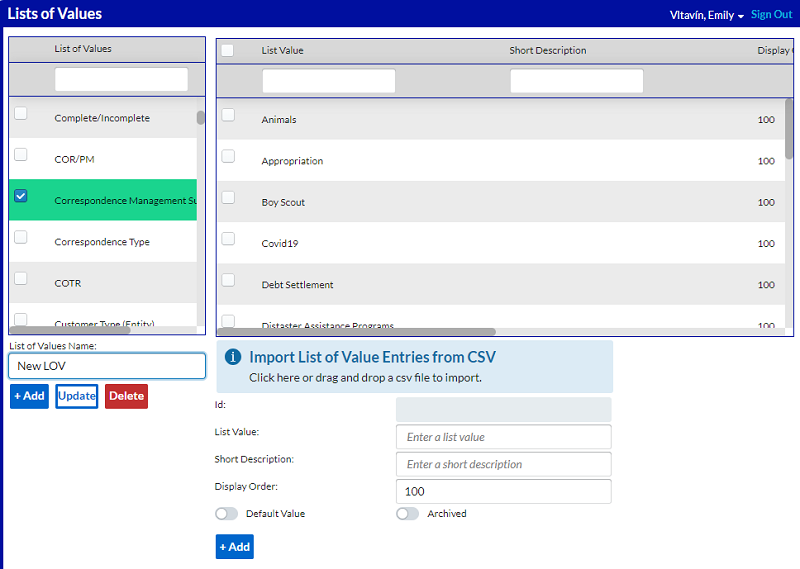
Click Administration > List of Values. This opens the List of Values maintenance screen.
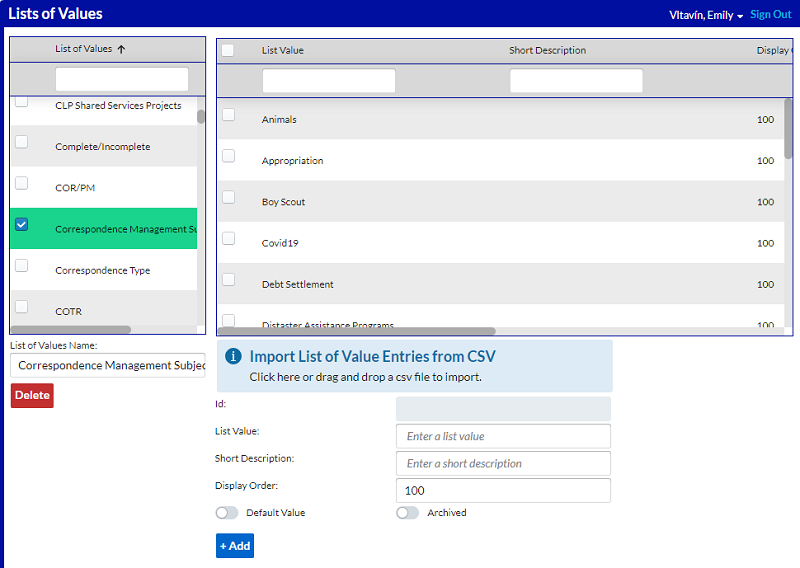
The left grid displays the various lists of values that exist in the system, and the grid to the right displays all of the entries within the selected list.
To create a new list of values, simply type in the name you want to give it in the List of Values Name field, and then click the Add button that appears.
To modify the name of an existing list, first select the list to update and then type in the name in the List of Values Name field. This displays both an Add button and an Update button. Click the Update button to update the name on the selected LOV.
To add a new entry to the selected list of values, simply enter the value in the List Value field below the right grid, then click Add.
To modify an existing entry, first select it in the right grid, then modify what you wish to about it, and finally click Update at the bottom of the screen.
You can also right-click on an entry to delete it or to copy the id. You may wish to copy the id for use in scripts such as for [data-driven BPMN workflow gateways](/docs/workflows-and-tasks/BPMN/BPMN-gateways.
You can also optionally:
- Enter/update a Short Description to give more context about the entry
- Update the Display Order to order the entry where you want it relative to other entries in the list.
- Set the entry as the default value for the list.
- Set the entry to Archived or Delete an existing entry - learn more below.
Archive or Delete an Entry
First, it is important to understand the difference between Archiving an Entry and Deleting an Entry:
Archiving an Entry prevents users from selecting it, but keeps the Entry as a historical record in the system.
This allows users to search for documents and etc that referenced that Entry in the past.
If desired, the Entry could be re-activated in the future to allow users to select that Entry again.
Deleting an Entry removes it completely from the system and wipes any historical record of it.
Users will not be able to search for documents and etc that referenced that Entry in the past.
The Entry will not be able to be re-activated after it is Deleted.
To put it another way, below is a table describing the various effects that Archiving or Deleting have as compared to an Active entry.
| Active | Archived | Deleted | |
| Selectable |  | ||
| Searchable | | | |
| Can Re-Activate | N/A | |
It is recommended that LOV Entries should only be Deleted if they were created in error. If users have been using an Entry and the Entry simply needs to be retired, then the Entry should be Archived instead so that it can remain a part of the system’s historical record.