Understanding Search Filters
Overview
Search filters allow you to customize a search by telling the system not only what to look for, but also exactly where to look.
For example, searching for documents by a given date would be too broad: are you entering the date the document was stored in the system, or a date the user who added the document filled out for it? Search filters allow you specify what you are actually looking for. In this example, you would select either Date Stored or Date Received as a search filter, and then fill out the filter to find the right documents.
Adding a Search Filter
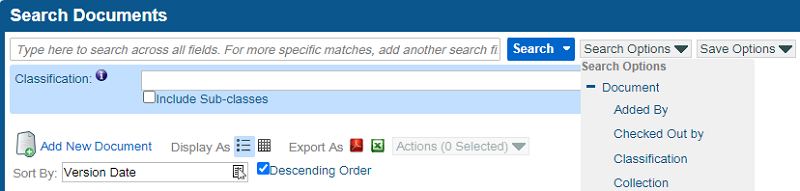
All of the available search filters are listed in the Filters drop-down menu, within groups which you can expand by clicking on the plus sign next to them. Collapse a group back together by clicking on the minus sign that appears.
Search Options Drop-Down Menu with Documents Expanded
The filters available in the Filters drop-down may change after you have entered a value for a selected search filter. This is because the system automatically hides search filters that it knows aren’t relevant to what you have already selected. For example, once you select a Classification, then only Index Fields that exist on that Classification are available to add to the screen.
When you click on a filter, a small pop-up opens to prompt you for the value(s) to use for that filter in the search. The exact appearance of this pop-up varies based on the type of the selected search filter.
You can either enter the desired value(s) for the filter in this pop-up, or just go ahead and click Add Filter to add the filter to the search. Either way, you can always update the value of the filter on the Search Screen later.
Clearing or Removing Filters
Every Search Filter has both a Clear link and a Remove Icon (![]() ).
).
The Clear link leaves the filter on the search, but clears out the value for it. Any filters that have been cleared out will not factor into the search the next time it is run. This lets you exclude a filter from the search momentarily, without needing to remove the filter entirely and then go find it again when you want to re-include it.
The Remove Icon completely removes the filter from the search. This is most useful when a filter was added to the search by mistake, or when a filter is just no longer relevant to the search you are performing.
Custom Object Filters
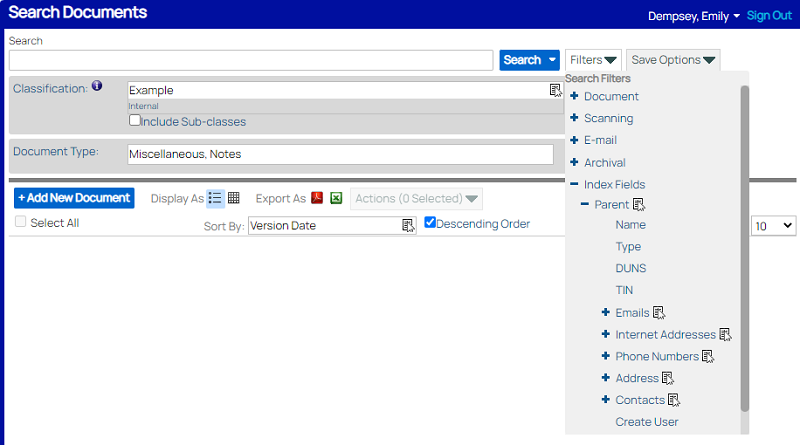
Some items in the Search Options drop-down menu may have both a plus sign to the left and a Select Icon (![]() ) to the right.
) to the right.
These items are Custom Objects. You can either include a Custom Object itself as a filter by clicking the Select Icon, or you can expand it like a group by clicking the plus sign, to see the object’s sub-fields. A Custom Object might have sub-fields that are also Custom Objects.
Custom Object Sub-Fields
To include the Custom Object itself as a filter, simply click the Select Icon (![]() ) next to it. This will open a pop-up prompting you to add a value, where you can begin typing a value and the system will provide suggestions for you to choose from.
) next to it. This will open a pop-up prompting you to add a value, where you can begin typing a value and the system will provide suggestions for you to choose from.
If you aren’t sure exactly what you’re looking for, or if there are too many similar objects to choose from in the suggestions, you can click the new Select Icon (![]() ) in the input box, and this will open a new Search screen. There, you can create a search just like the main search you were working on, to locate the specific Custom Object you want to use in your main search.
) in the input box, and this will open a new Search screen. There, you can create a search just like the main search you were working on, to locate the specific Custom Object you want to use in your main search.
If you aren’t sure what exact object you’re looking for, but don’t want to perform a whole other search to find it, that’s when adding a sub-field as a filter can be useful. For example, perhaps you know you want to search for documents associated with an Employee whose first name is John, but there are multiple Employees named John, and you aren’t sure which Employee you’re really looking for. In that case, you can add First Name as a search filter instead of Employee, and the system will search for all documents associated with any Employee named John.