Priority Search Fields
The Priority Search Fields tab appears on the Classification, Object Definition, and Workflow Folder Definition screens. This tab allows you to configure specific fields that are especially important for users when searching for documents, objects, or folders in the system. The fields configured this way will impact how the top search bar works on the relevant search screens. For custom objects, will also impact the suggestions that appear when users begin typing values into custom object search and index fields.
For object and folder definitions, you must add at least one priority search field to ensure that searches work correctly. For Classifications, if you do not add any priority search fields, then the system will default to using priority search fields defined by the closest parent Classification.
On all the relevant maintenance screens, the Priority Search Fields tab looks like the screenshot below.
![]()
To add a new priority search field, click Add Field. This opens the Add Priodity Search Field window.
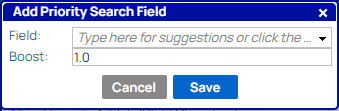
If you know the name of the field you want, you can start typing and select a suggestion, or you can open the drop-down to find the field you need. Use the plus signs next to objects to open them and find subfields, illustrated in the screen shot below.
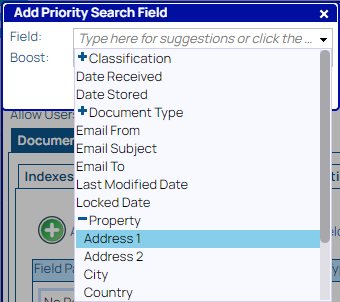
Note that you can only select alphanumeric fields and dates, due to how the search engine works.
Once you have selected a field, you can optionally modify the Boost score. It must be a whole number. The larger the number, the higher priority the search engine will treat that field when returning search results. In particular, it will impact the ordering of search results when the sort for the search is by relevance, as well as the suggestions that show up for custom object fields.
Once you click Save, the field will show up on the Priority Search Fields tab.

You can always delete or modify the boost score for a field by clicking on it in the grid to select it and then clicking Modify Field or Delete Field.